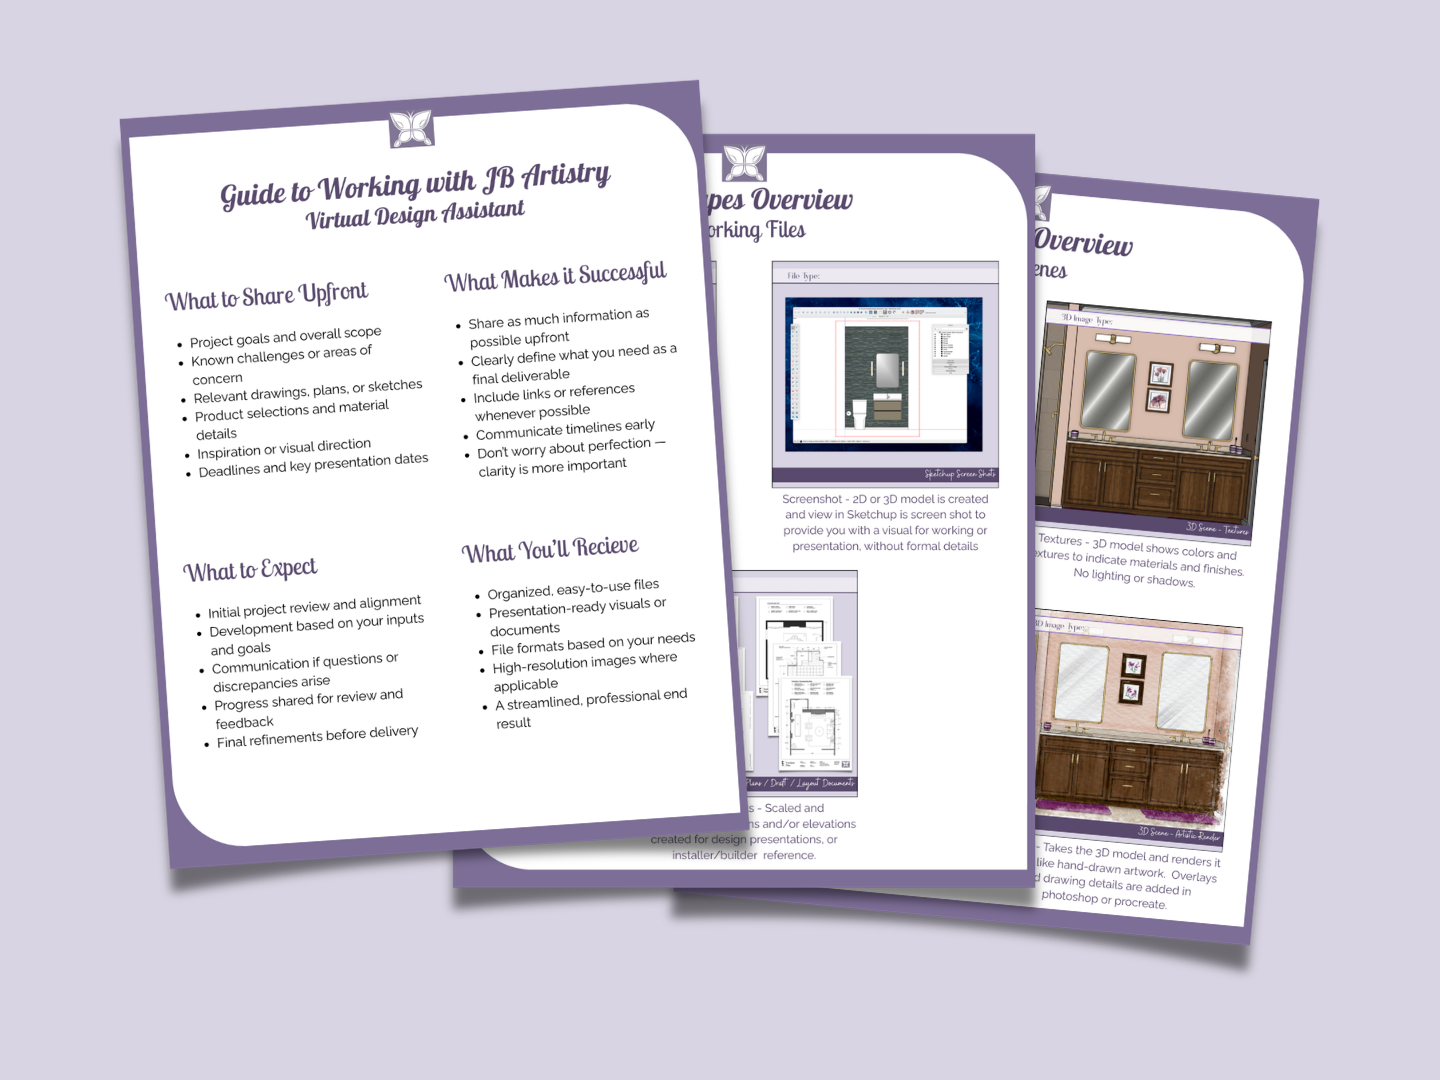
A Behind-the-Scenes Look at the Virtual Design Assistant Process
What Interior Designers can expect when outsourcing design work.
As a busy interior designer, you’ve likely come to the realization that you might need a little help to get through your next project. As a Virtual Design Assistant, I’ve worked with plenty of designers who were hesitant at first to give up control of even a small part of their process.
While the idea of outsourcing your interior design work can feel uncomfortable — even a little scary — understanding the process can help ease those concerns. Once you realize that a good assistant can not only give you back valuable hours in your day, but also help you get buy-in from your clients and sell your design, you may find yourself more open to the idea than you expected.
Every Virtual Design Assistant has a slightly different way of working. In this article, I’ll walk you through my process from start to finish. Keep in mind that every project is unique, and every designer has different needs, so while there may be some variation, the overall structure will remain consistent.
If you’re already thinking about outsourcing, I’ve created a simple Outsourcing Starter Kit to help you prepare your project and make the process feel smooth from the start. You can download it here.
Step 1: Project Review (Clarity First)
This step ensures I’m not just executing — I’m supporting your process.
We always begin with a project review to make sure we are aligned and fully understand your goals. Are you working to get buy-in from your client? Do you need documentation for installation? Or are you still developing your design and need visuals to support your process?
Understanding your objective allows me to tailor my work to best support you.
At this stage, we’ll also discuss any known challenges. Are you unsure if the design will fit the space? Does your client need to see multiple options? Are you still finalizing materials? Identifying these early helps us plan effectively and avoid unnecessary revisions.
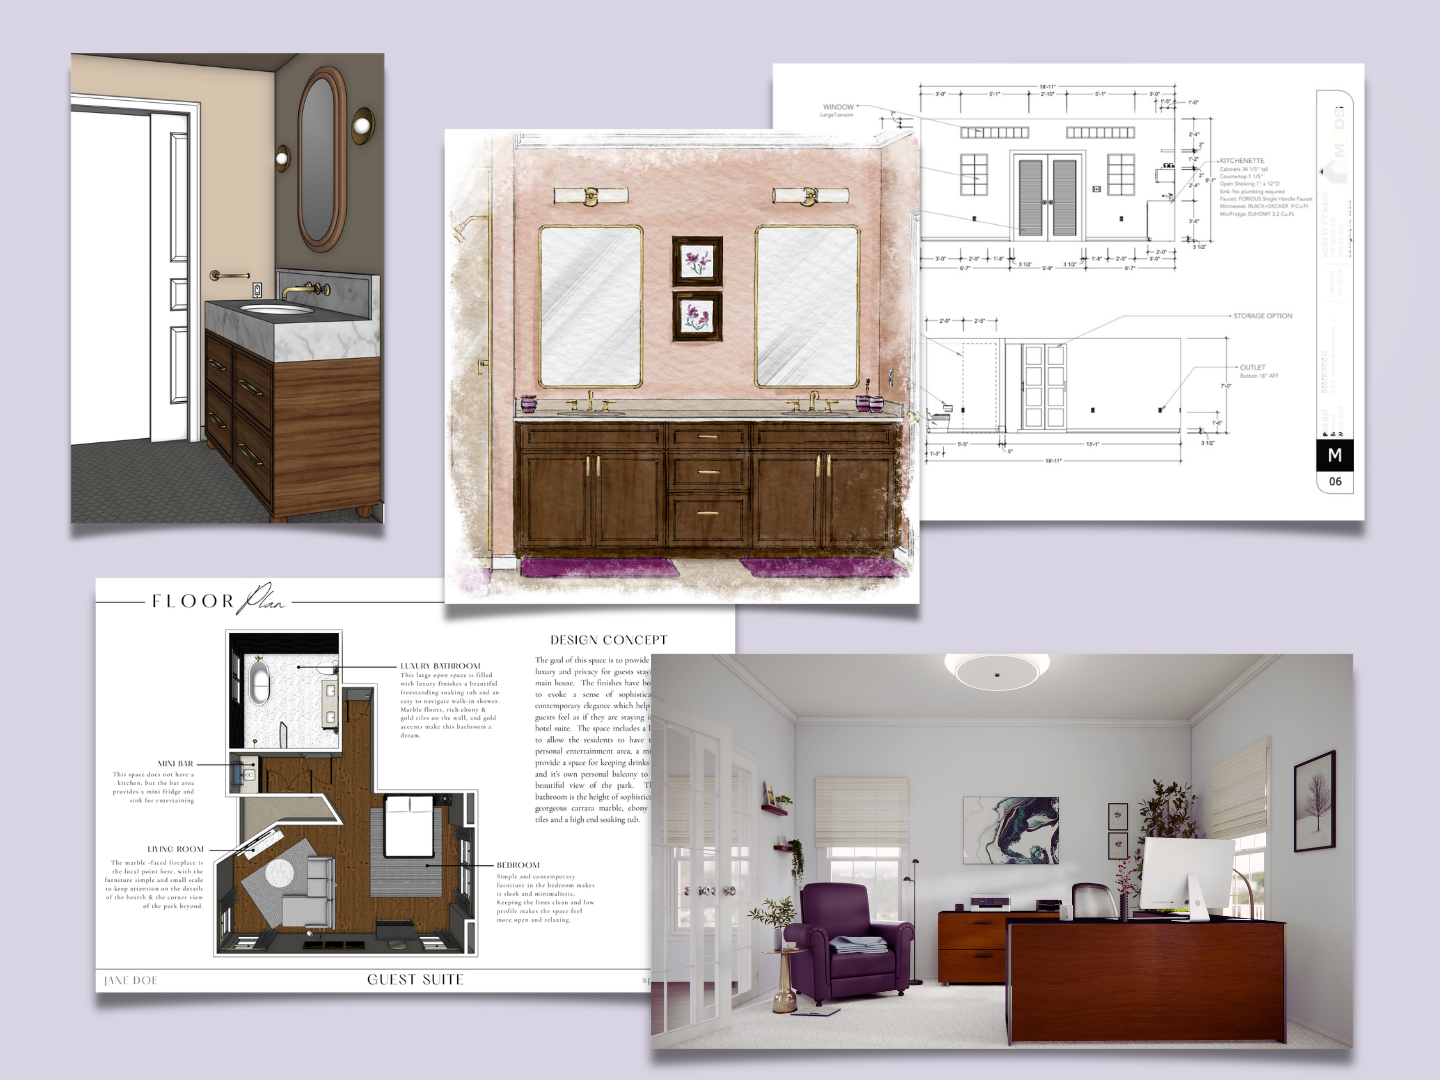
We’ll also determine what type of deliverables you need:
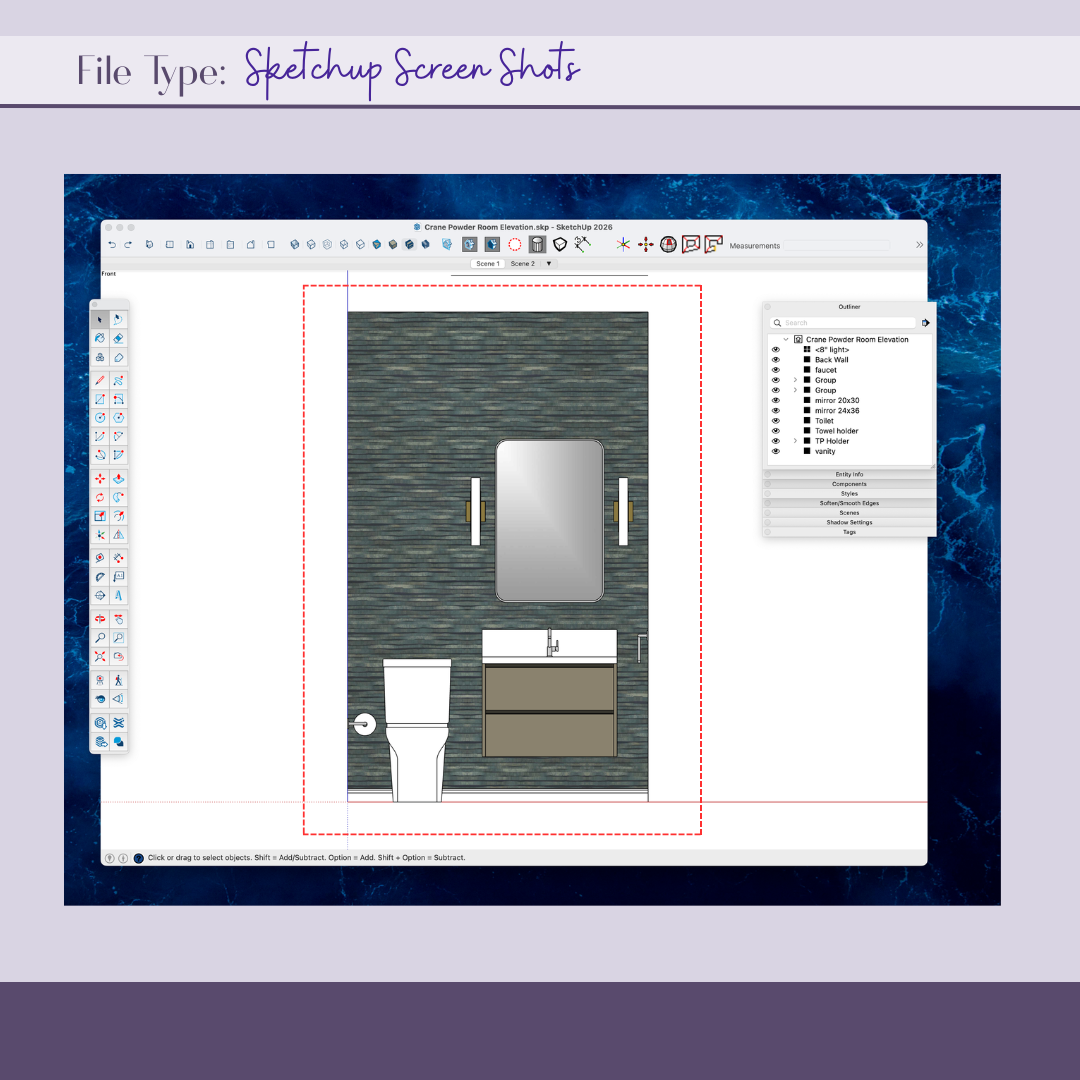
Working 3D or 2D Files – Navigable models to support planning and visualization
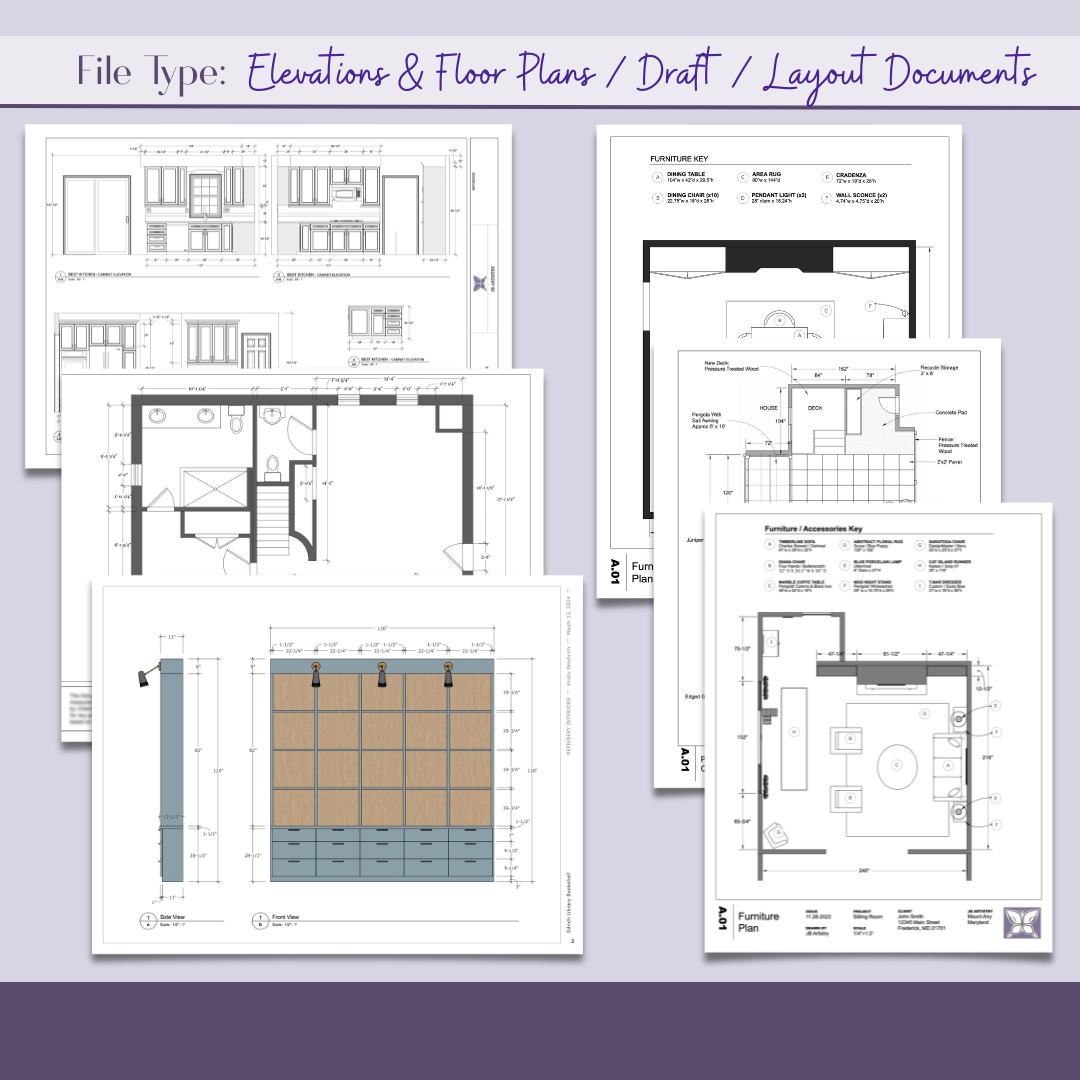
2D Draft Documentation – Scaled floor plans and elevations for presentations or construction
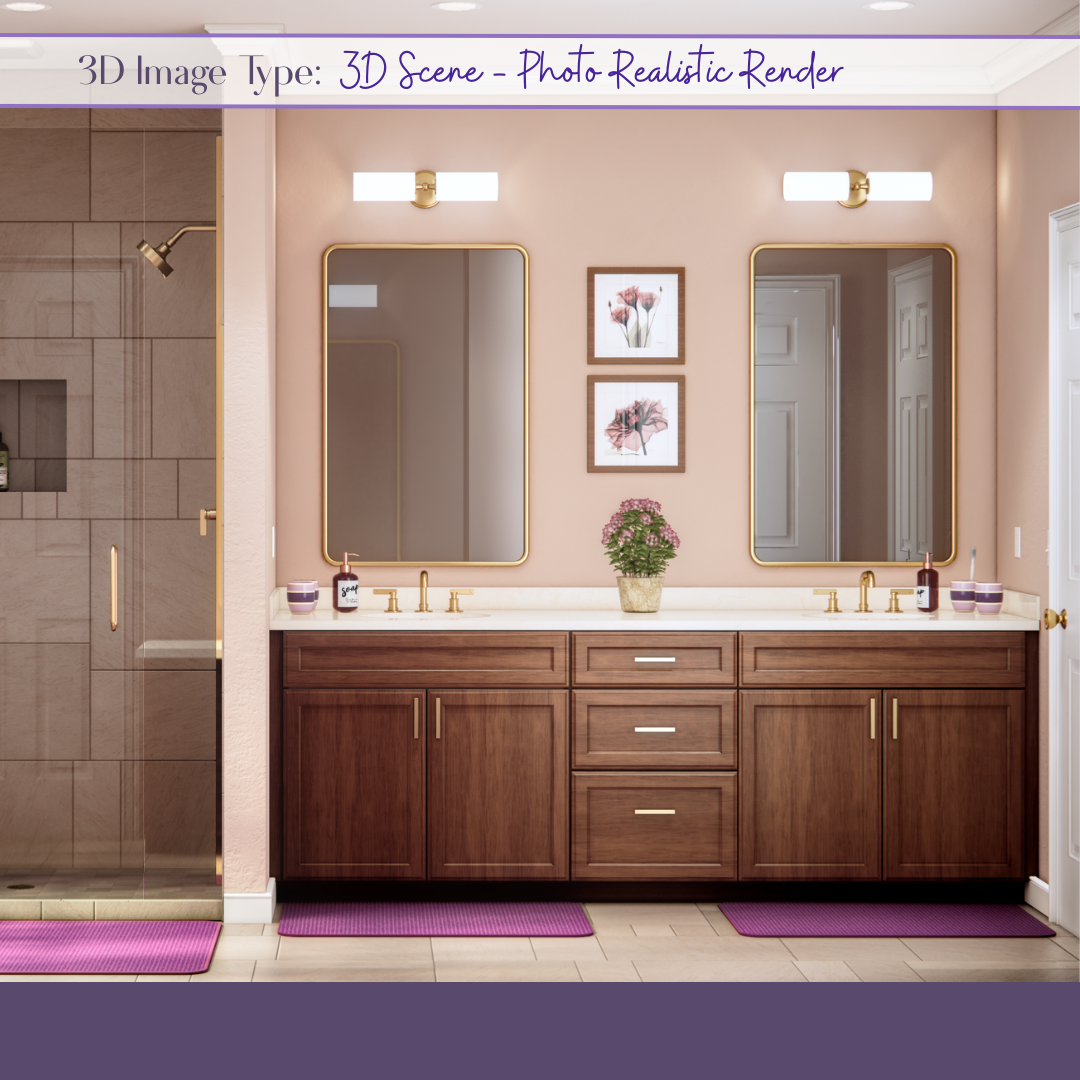
Client Presentation Visuals – Renderings or concept boards, ranging from simple to photorealistic
Finally, we’ll review your timeline. Be sure to share any upcoming client meetings or deadlines. Whenever possible, allowing at least 5 business days ensures quality and efficiency. Rush timelines may be accommodated when needed.
Step 2: File Sharing (Setting the Foundation)
During onboarding, I gather as much relevant information as possible. The more complete the information, the smoother and more efficient the process will be.
Files can be shared via email or through platforms like Google Drive or Dropbox.
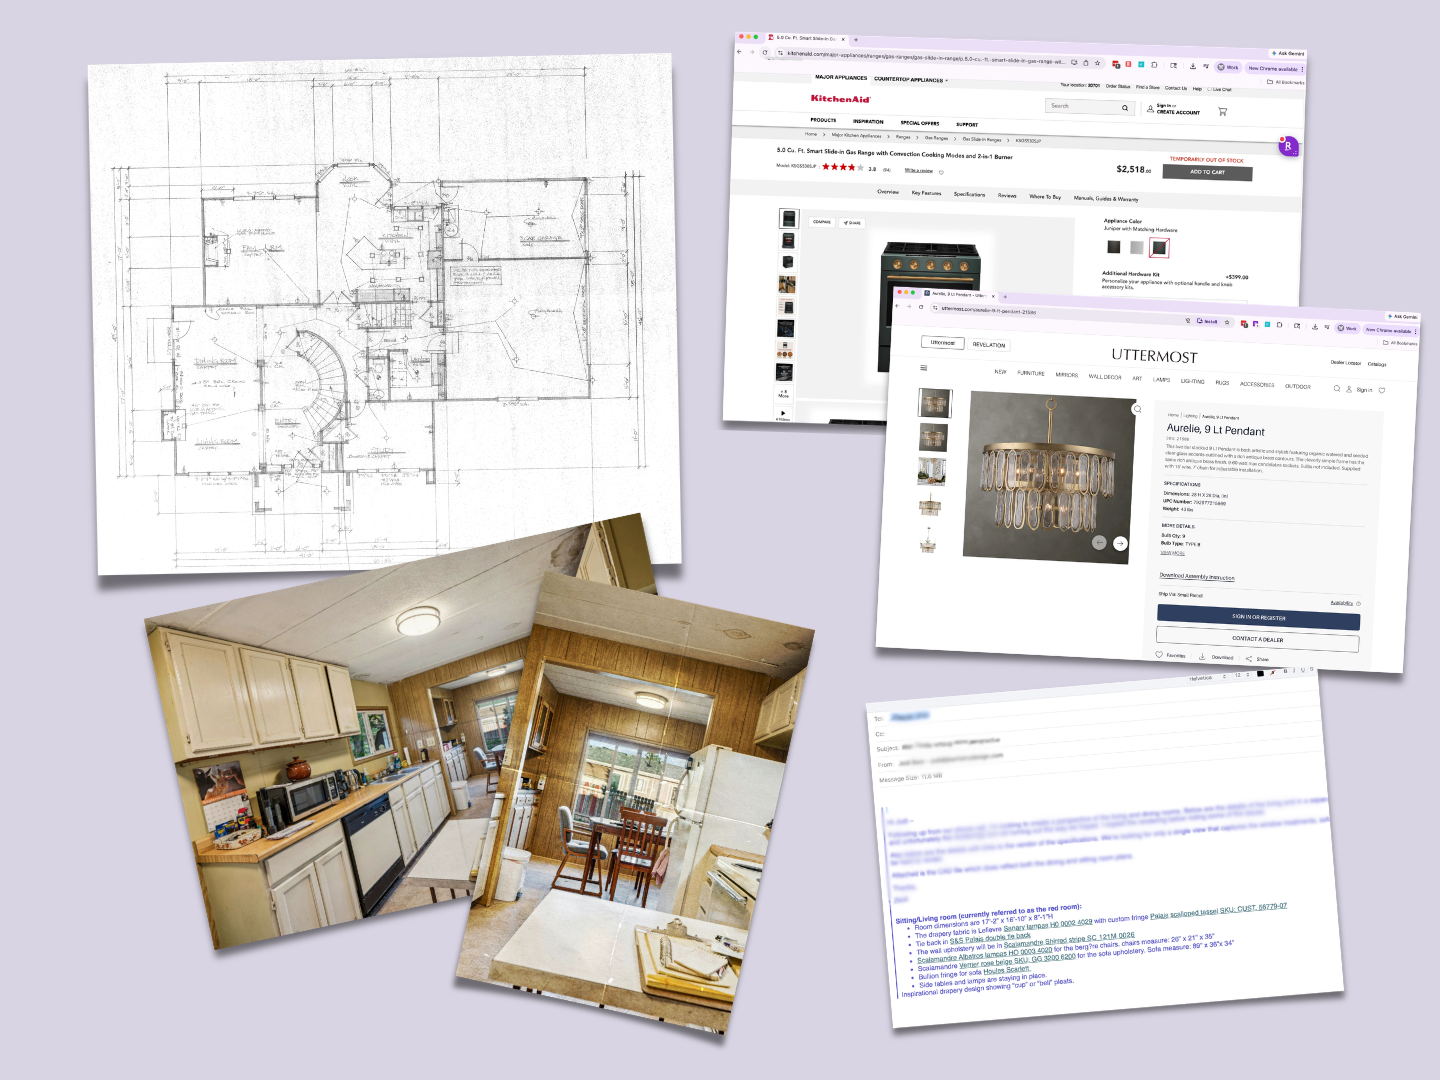
Examples of helpful materials include:
Architectural or building plans
Hand-drawn sketches or markups
Photos of existing spaces
Product selections or vendor links
Materials and finishes (paint, fabric, tile, etc.)
Inspiration images
In most cases, I’m not able to begin work until all necessary files are received. Having everything upfront allows me to identify gaps, clarify details, and ensure accuracy from the start.
The process of bringing your designs to life helps everyone involved in the project share your vision.
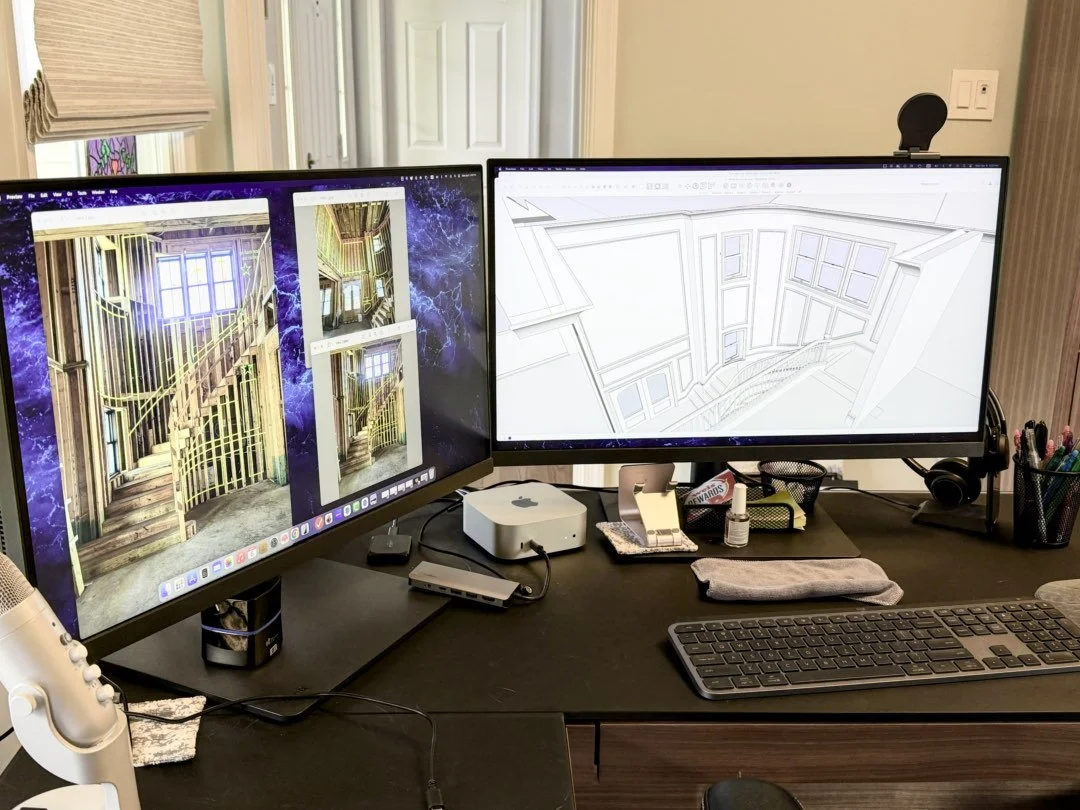
Step 3: Development Phase (Where It Comes To Life)
This is where everything comes together.
Using the information from Steps 1 and 2, I begin building out your project. This may include 2D drafting, 3D modeling, applying materials, and creating presentation visuals.
2D drawings are often quicker to produce, but accuracy is just as critical.
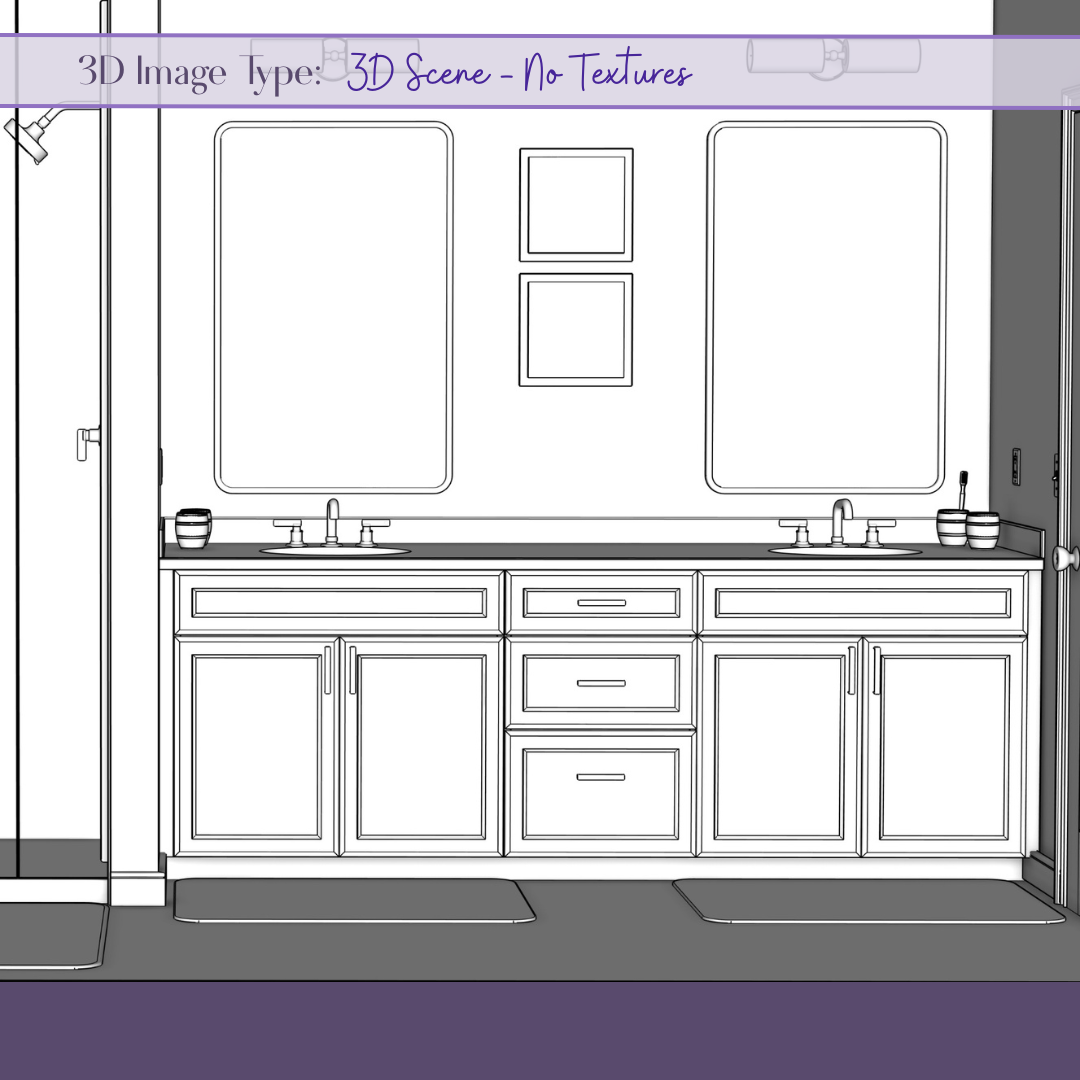
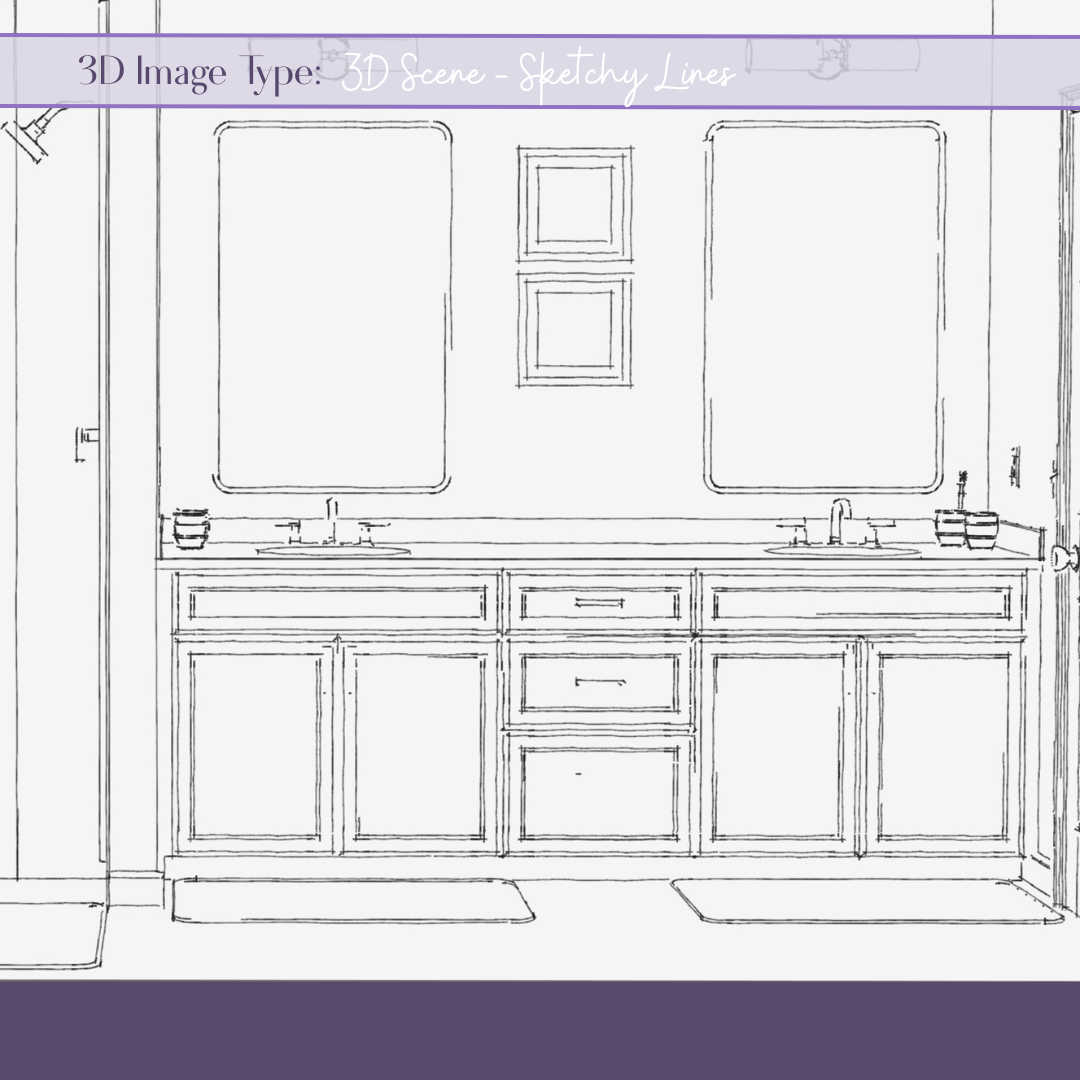
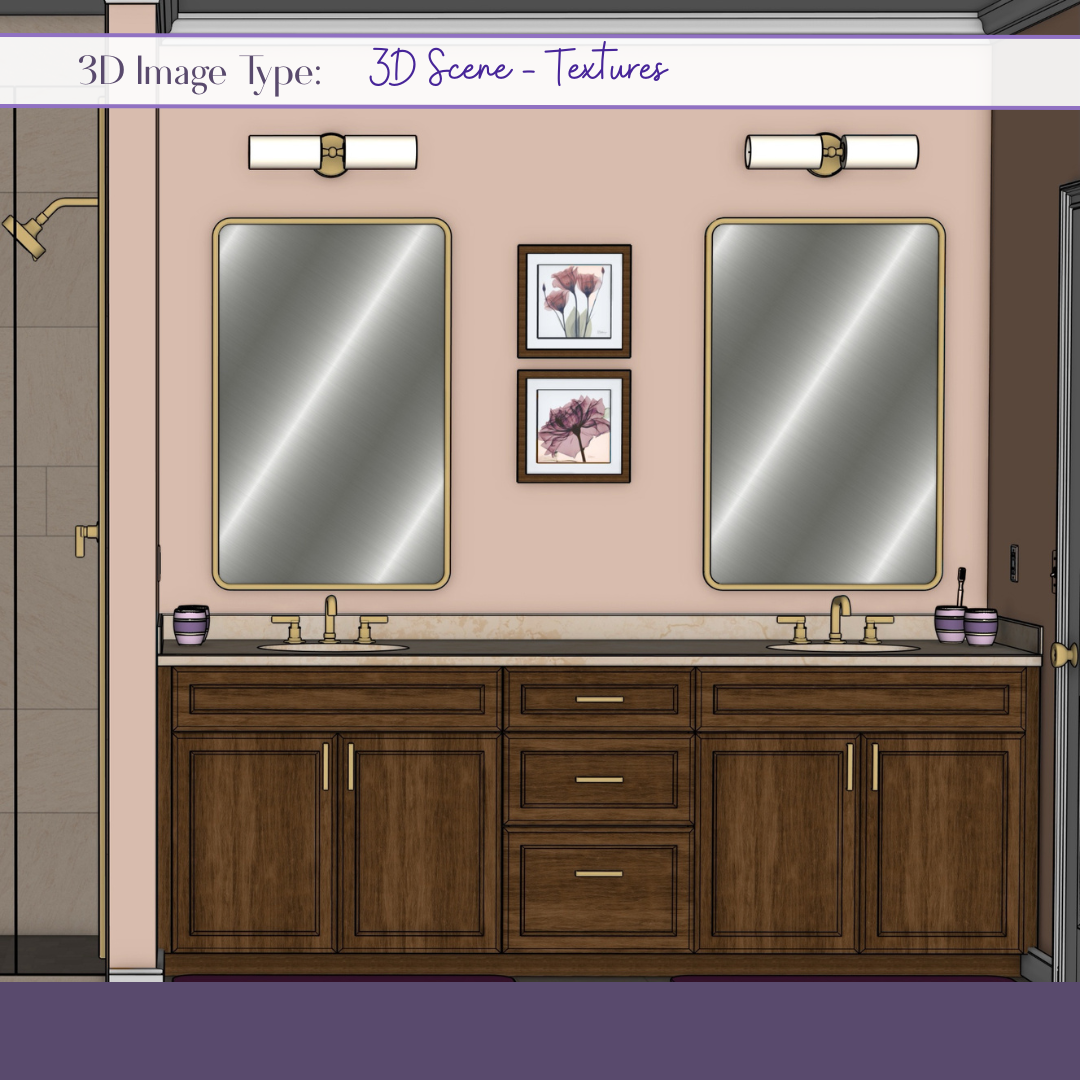
3D models require more detailed development — including spatial accuracy, architectural elements, and furnishings — along with materials and textures.
While developing your project, I actively flag any discrepancies or potential design concerns. With my background in interior design, I’m able to identify issues such as spatial constraints, material conflicts, or layout challenges.
If something comes up, I’ll bring it to your attention — but I won’t make changes without your direction.
It’s important to me that you feel supported, not overridden.
Step 4: Review & Refinement (Collaborative, Not Complicated)
Before finalizing, I’ll share progress for your review.
Depending on the project, this may include:
Screenshots
Watermarked images
Screen-sharing calls
This step allows you to confirm that everything aligns with your vision. Any final revisions can be made at this stage, ensuring you remain fully in control of the outcome.
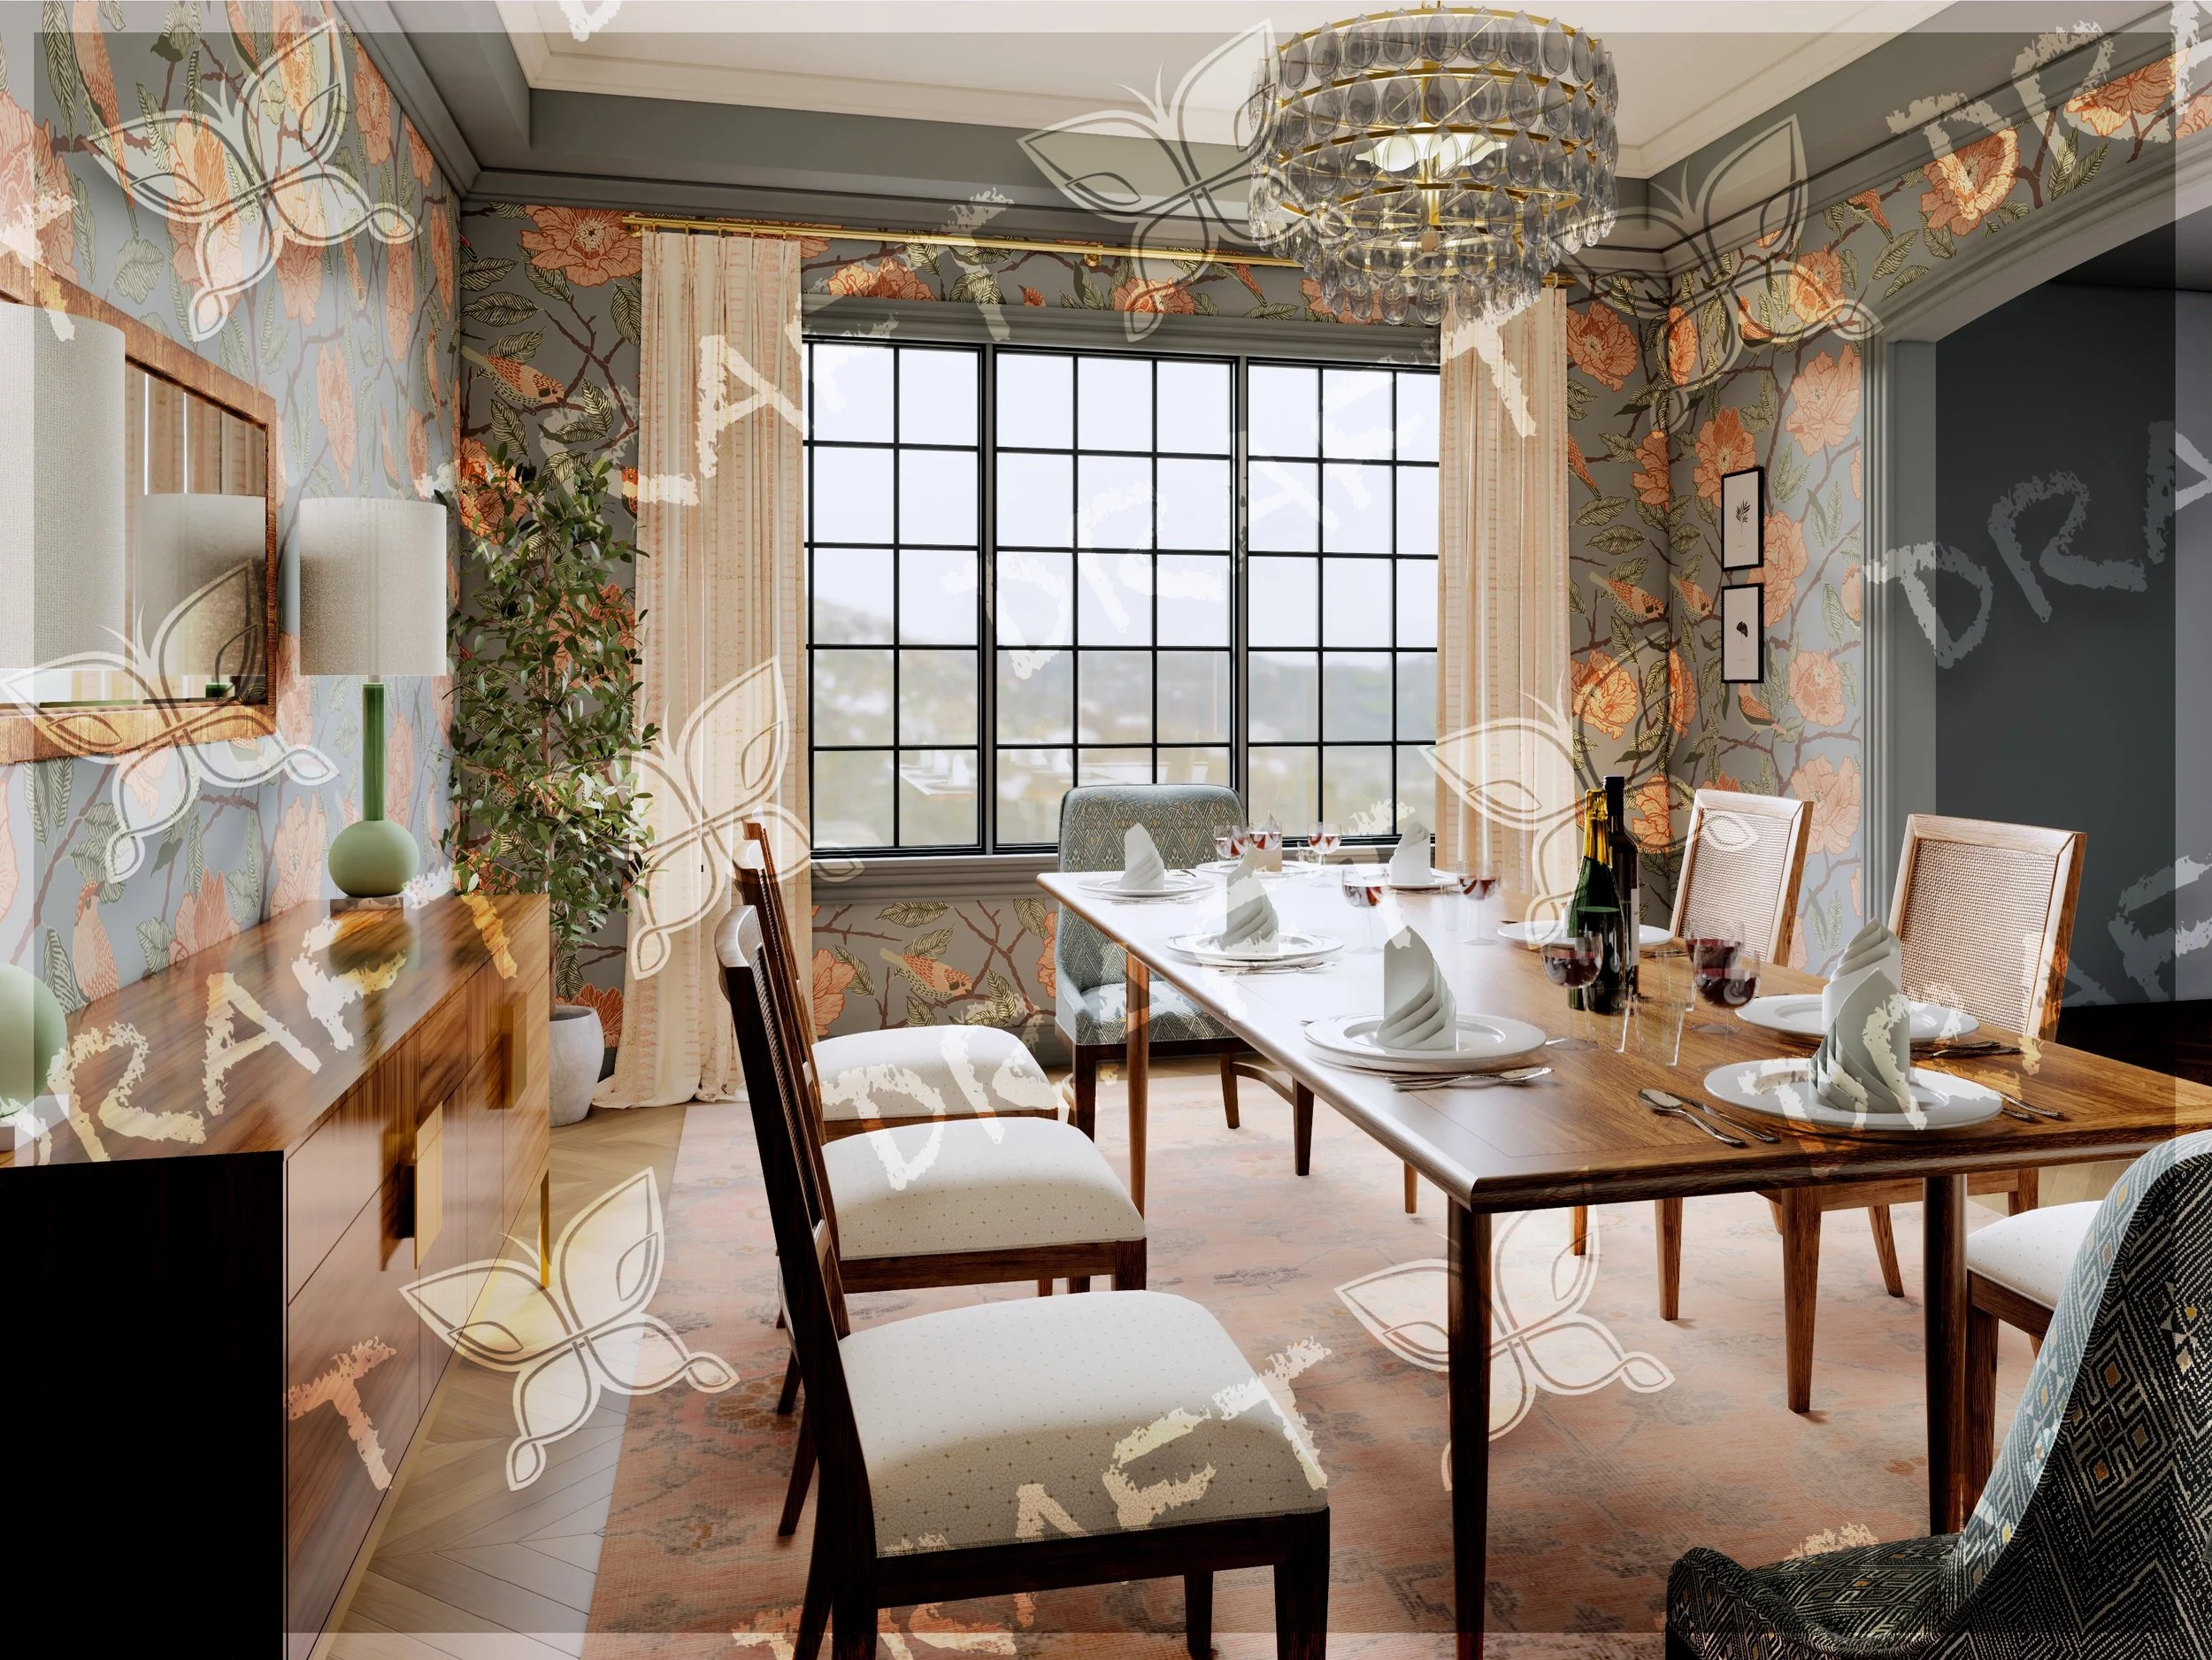
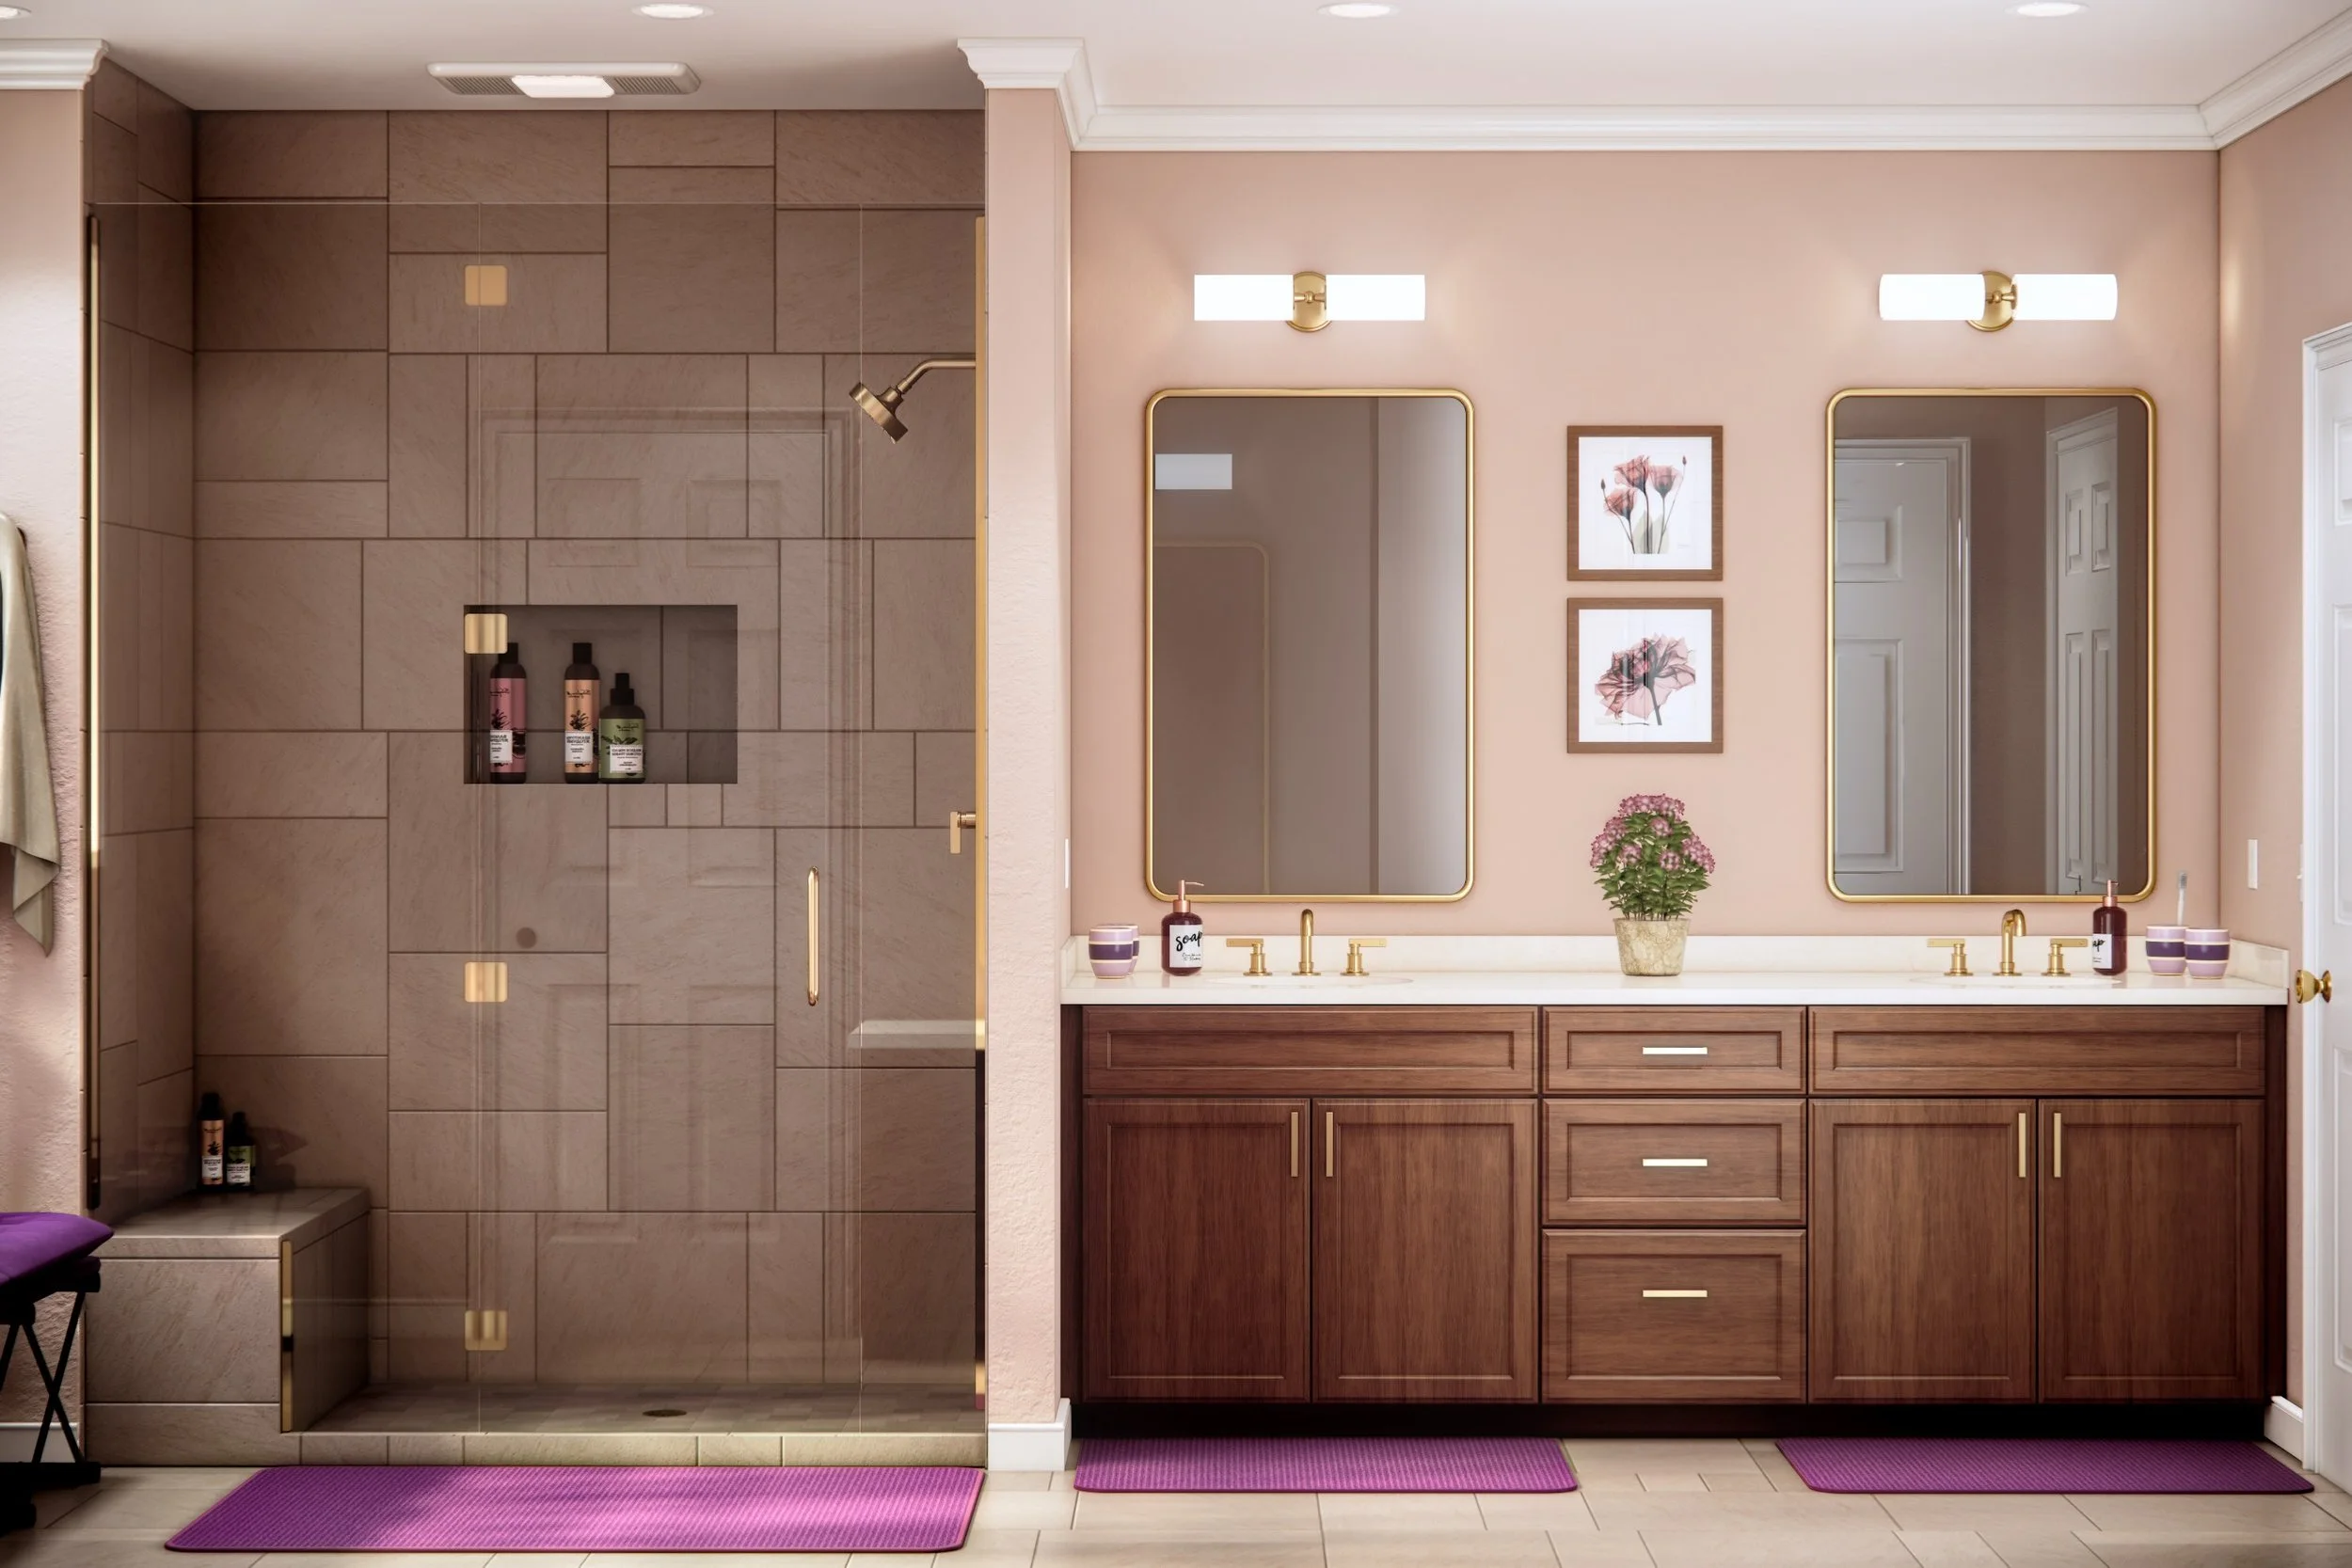
Watermarked render - once approved and invoices are settled, the watermarks are removed and your final image will be provided
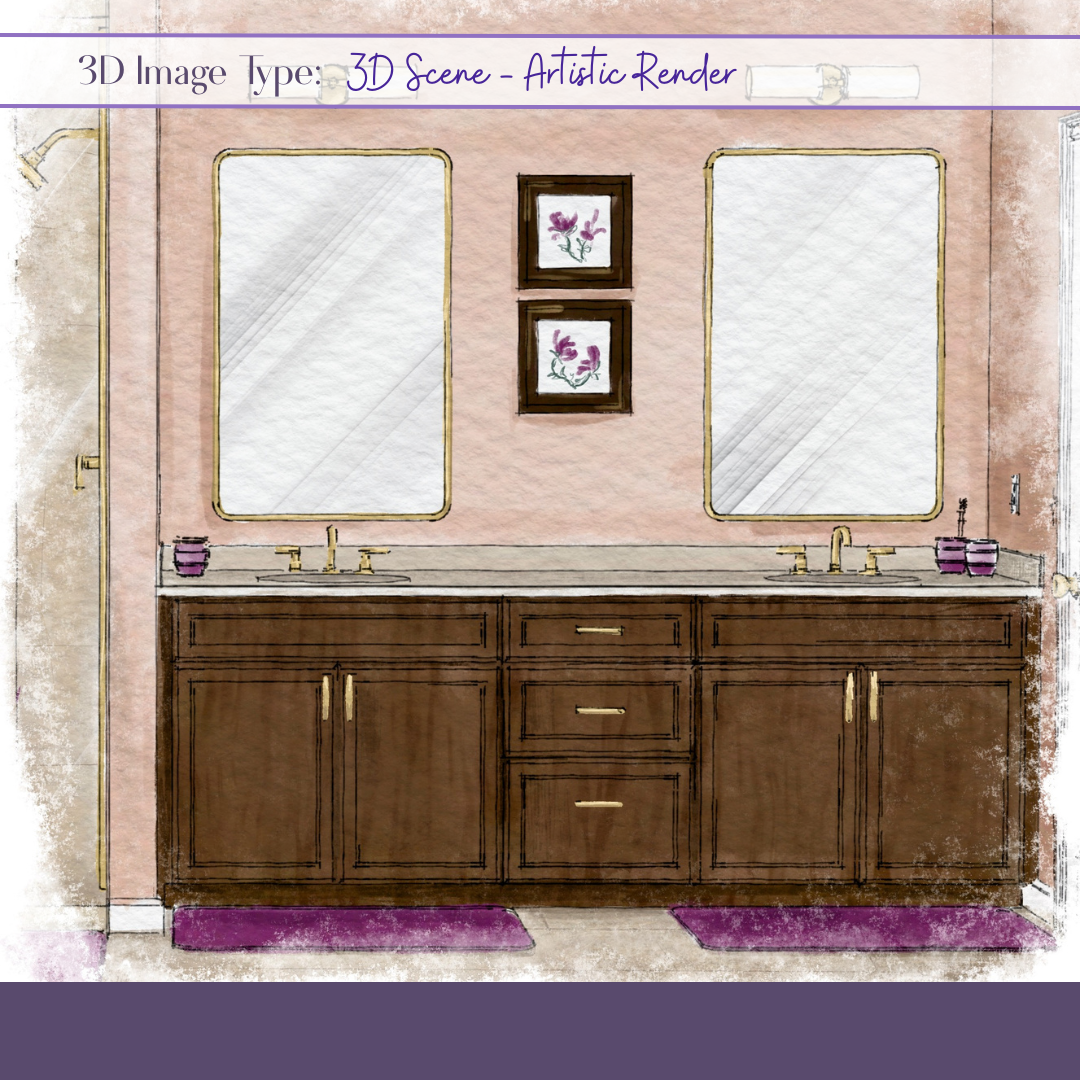
Final files can be anything from a 3D Sketchup file to finished draft documents to artistic or photorealistic renders
Ste 5: Final File Delivery (Organized and Ready to Use)
Once everything is approved and invoices are complete, your final files will be delivered via email or file-sharing platform.
Depending on your needs, you may receive:
Editable 3D files
PDF documents for presentations or construction
High-resolution image files
Canva-based presentation boards
When multiple files are included, everything will be clearly organized and labeled so it’s easy to use immediately.
Outsourcing should feel like support — not added stress.
Whether you need help visualizing a design, communicating with clients, or simply freeing up time in your schedule, my goal is to make your process easier.
Let’s keep things simple, organized, and collaborative so you can focus on what you do best.
If you have any questions about my process, I’m always happy to connect via email, phone, or video.
And if you’d like help preparing your next project, you can download my Outsourcing Starter Kit here: